Getting Started
To be able to navigate to your WebApp by name, candidates must configure their external DNS.
Pre-Requisites
- Host environment fully setup and configured.
- WebApp Clients setup and working.
- The ability to navigate to WebApp via Public IP
Navigating to UltraCloud’s DNS Manager
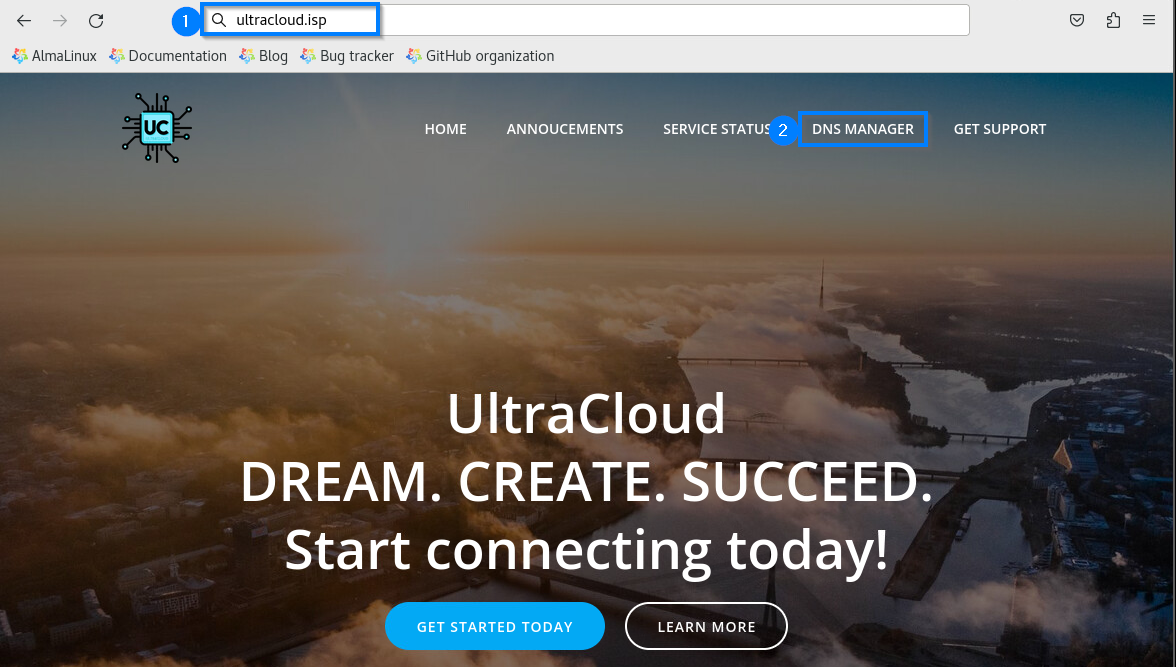
From your host environment that is connected to the UltraCloud Network:
- Navigate to the http://UltraCloud.isp webpage.
- Select DNS Manager in the top right hand corner.
Configuring your External DNS
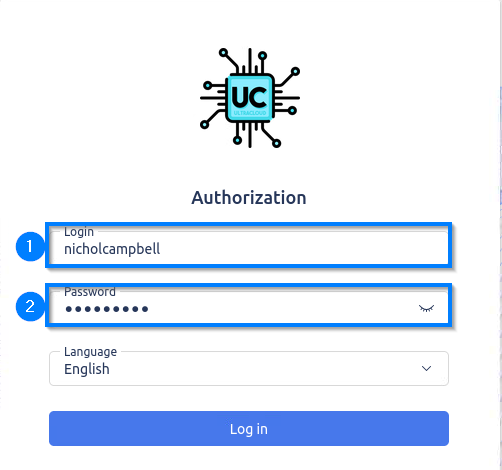
Enter your Username and Password into the portal
- Username: [firstname][lastname] *Note: If you have 2 first names only your first is used
- Password: Fuzzyduck30
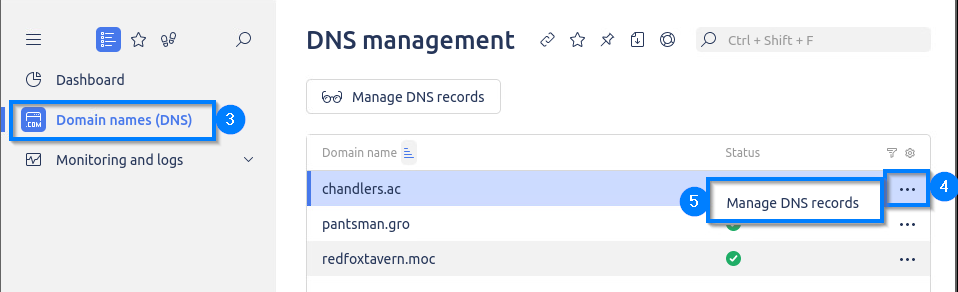
- Select Domain names (DNS)
- Select the Three Dots
- Select Manage DNS records
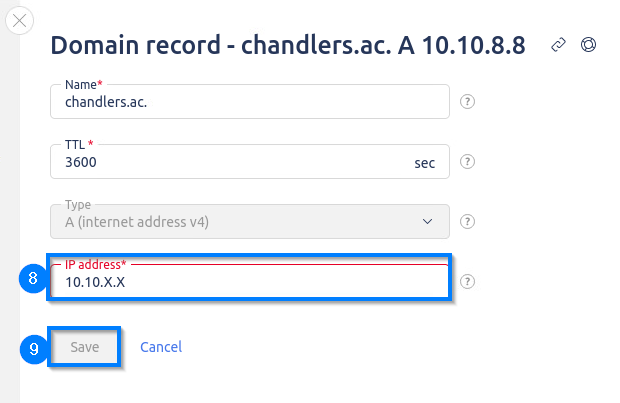
- Select the Three Dots on the first A record
- Select Edit
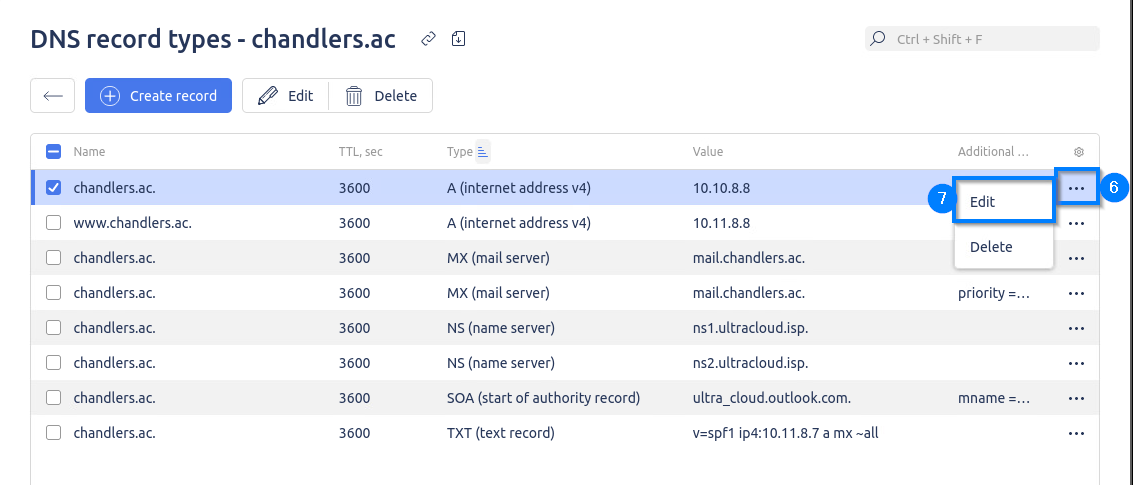
- Update the A record to reflect the External address you chose for that client from the block assigned to you.
- Click Save
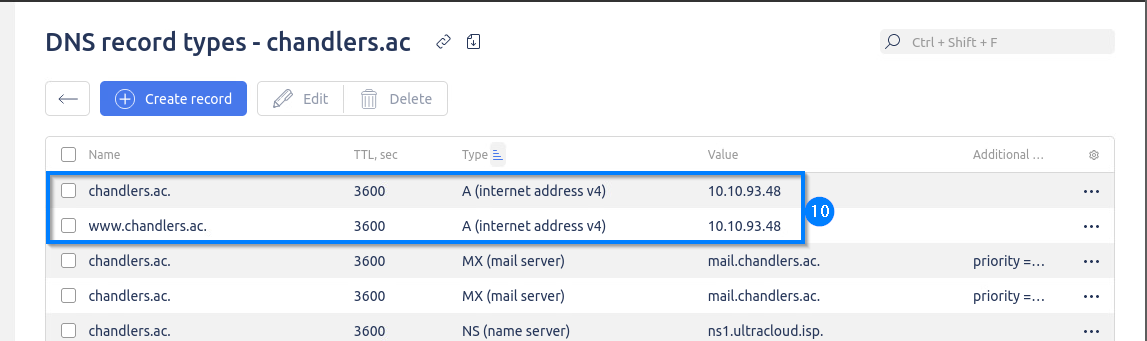
- Repeat steps 6 – 9 for the second A record until both records display your external address.
Repeat steps 4-10 for the remaining domains assigned to you.
Congratulations you have configured your External DNS!
Test your configuration!
At this time, you should be able to navigate to your WebApps by Name as well as by Public IP
Was this article helpful?
That’s Great!
Thank you for your feedback
Sorry! We couldn't be helpful
Thank you for your feedback
Feedback sent
We appreciate your effort and will try to fix the article